|
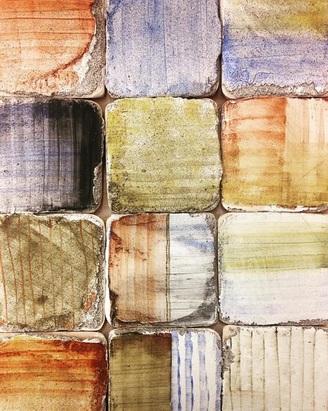
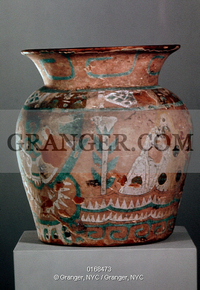
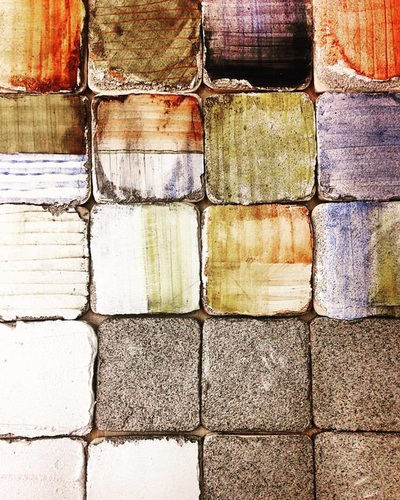
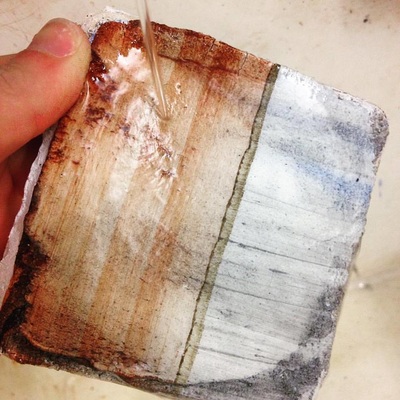
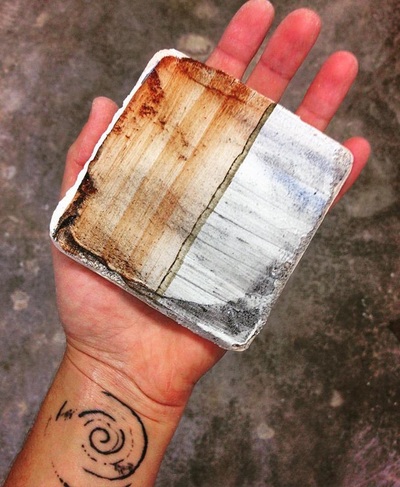
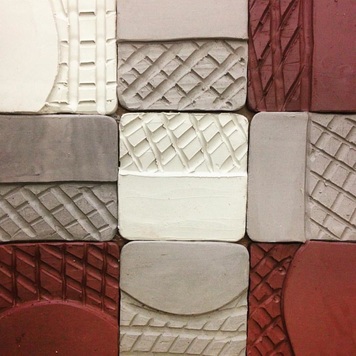
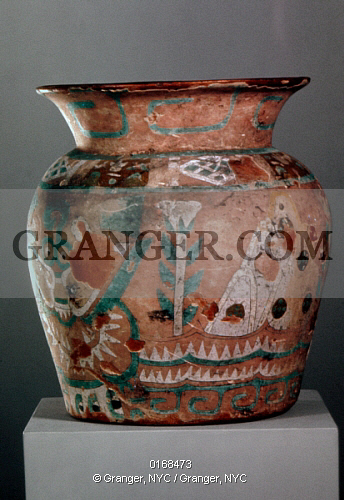
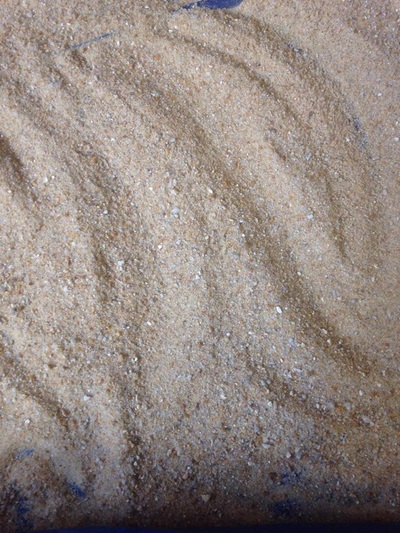
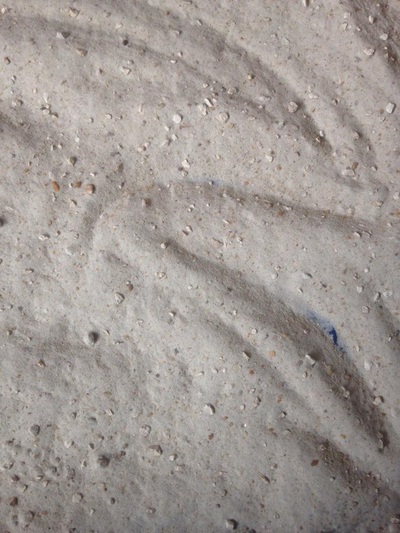
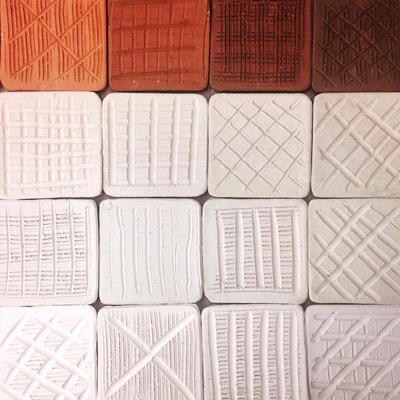
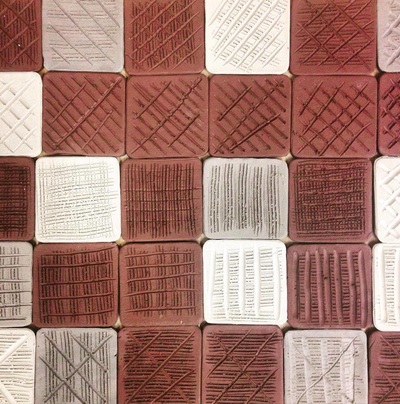
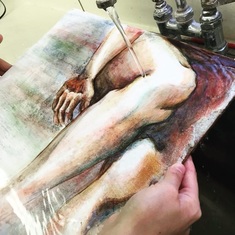
I have begun testing for my ceramics and fresco, attempting to gather as much information as possible about the materials I am using and what it is I plan to accomplish. For the moment I have set aside the idea of imagery and am less concerned with what I paint on the surface, and more focused on the emphasis of these two materials and their contrast in surface. My goal for now is to focus on variation in surface and contrast of glaze and fresco and their relationship with form and color. I have tested multiple clay bodies at multiple temperatures, for example earthenwares at low temperatures and porcelains at mid temperatures. The importance is in the absorbency and slowly I am gathering information about the best clay and clay absorbency to work with my fresco materials. I recently discovered the fresco/stucco pottery of Teotihuacan Mexico....the exciting part is that these concepts and techniques have been done before and I believe that I can find good information in what was accomplished historically. Some clay bodies are more receptive to the pigments and I have had a few successes by testing them with water. In the images above you can see one of my tiles I was able to sit under water and the pigment stayed as it was. I have tested a combination of painting layer with sand and others with marble dust as my aggregate.
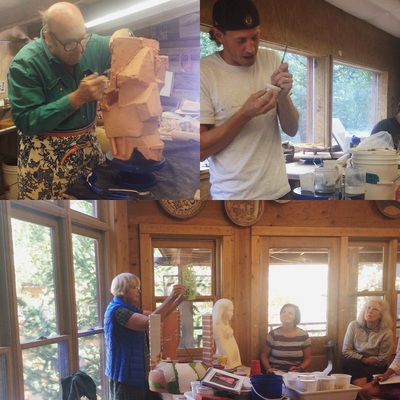
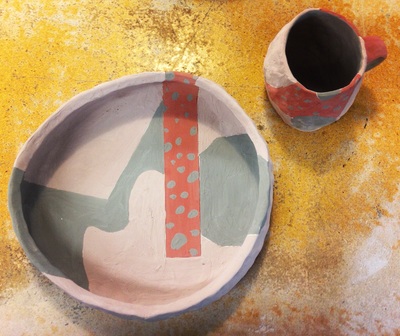
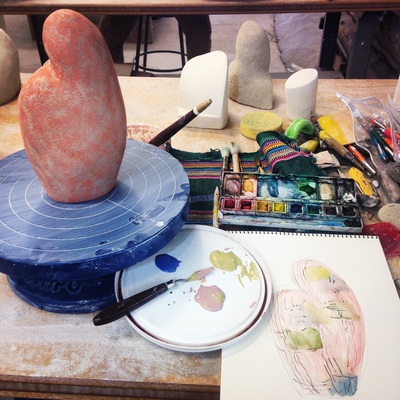
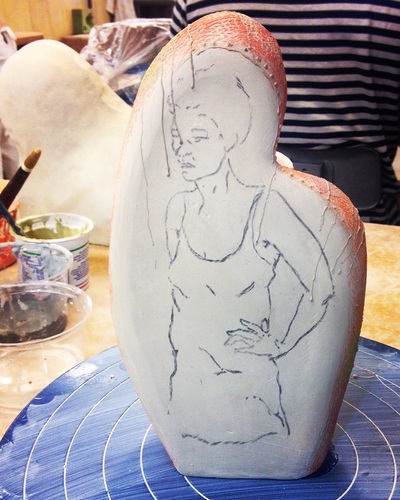
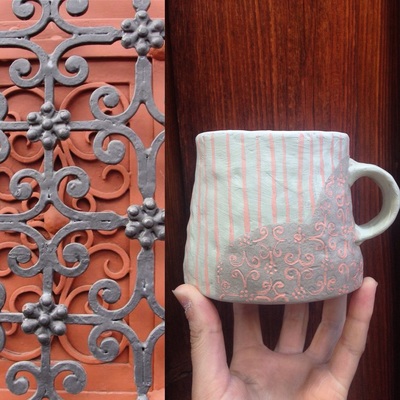
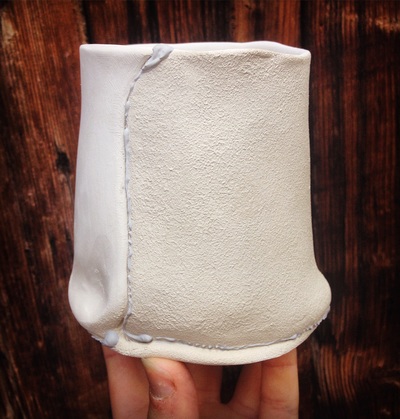
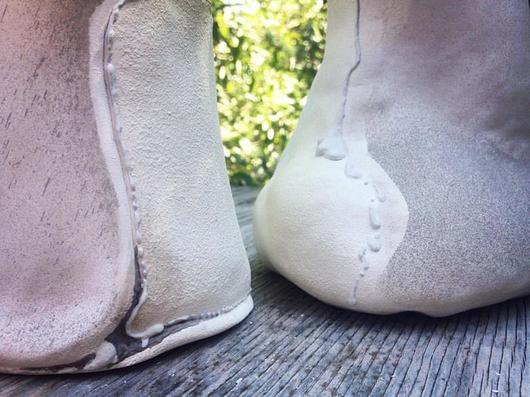
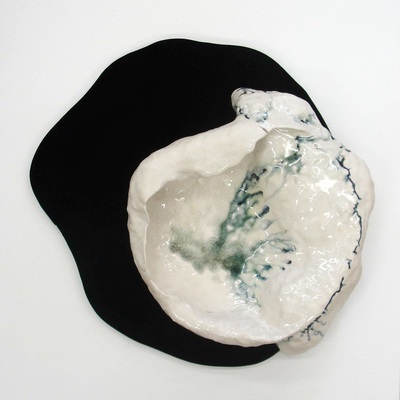
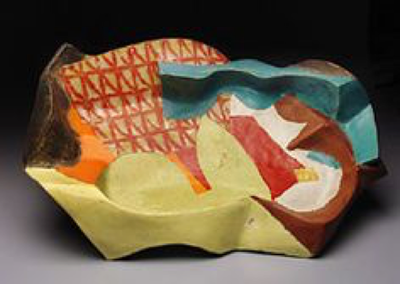
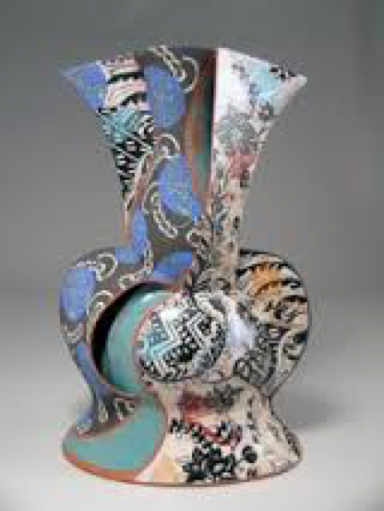
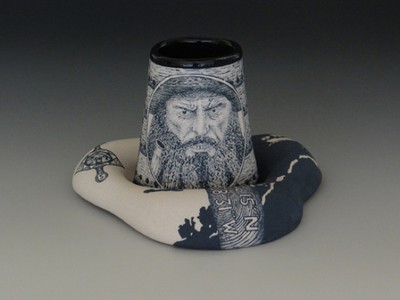
The next step is to apply these techniques to curved and glazed pieces..... Anderson Ranch was my first experience traveling out west and as I predicted it was an incredible place to be and the perfect workshop for where I was in my work and in my technical abilities. These three artists worked very differently and had a great energy…and as an artist that wanted to explore the many different means of surface and form it gave me the freedom to experiment with so many approaches to my work! John’s work focused on form and color application. We also learned his technique of building with soft slabs and decorating with tape on bisque ware. The majority of my surface work was initially done on leather hard so this was a new approach for me. Stuart worked very detailed and meticulous with his imagery on his forms…all of which was applied at bone dry. I am a figurative painter who typically works more gestural, so I enjoyed the challenge of working more detailed and slow during the workshop. Andrea’s work combines the techniques of constructing form with stronger/dryer slabs and then working with patterns and handmade stickers on bisque ware. Though I didn’t get to attempt her approach to the patterns and stickers, I was inspired to attempt some work with tracing patterns on my forms. I still had the idea of fresco and ceramics on my mind and made a piece inspired by that and the surface it would create. I also learned from a fellow workshop student about the fresco ceramics of Teotihuacan!!! I had been there so many times while living in mexico and it was exciting for the realization that this was a technique with historical background for me to research. Each of these artists were so kind as to give me some of their time to discuss my work, my ideas, and where I am with my making in grad school. A talk with John about the things that I think about or am attracted to in work brought on the conversation and encouragement for me to slow down, stop thinking and analyzing, and begin feeling. “Less looking, more feeling.” It was an obvious answer…my attraction to surface and form and variation in the two only naturally should mean I need to focus on my sense of touch more than what I was seeing in the work. This conversation and advice changed the way I was working drastically! I slowed down, focused on touch, payed attention to detail, and allowed the clay to move more naturally instead of forcing the form. The result was work that, in a sense, I saw much more of myself in. There was also more of a suggestion to the body and sensitivity, and all the while I made connections to the poetry I read and the words that inspire me. I saw breath and process in the work that I hadn’t been able to recreate before. After making these pieces, especially the sculptural form I thought of a poem that I felt reflected the work.
“Once, I had tried to fill myself. I plastered caulk over my emptiness. I filled my body with cement. Rubber glue, love letters, Broken things. I tried to fill the emptiness with those which that only had holes in them… Does absence have flesh? I asked my body. Only the one you created, it said in return.” ~ Shinji Moon, The Anatomy of Being I was also informed by another student in the workshop about the term “Ekphrasis” which is in the simplest of words, poetry inspired by art. “According to the Poetry Foundation, ‘an ekphrastic poem is a vivid description of a scene or, more commonly, a work of art.’ More generally, an ekphrastic poem is a poem inspired or stimulated by a work of art.” I left Anderson Ranch with two ideas regarding my work…or more like 2 decisions of what mattered to me. I am still wanting to research and make ceramics work with Fresco, allowing me to focus on variation in surface and contrast of glaze and fresco and their relationship with form. I also, and most importantly, want to make work that represents myself and my own sensitivities. I’d like to continue to slow down and explore this balance between intention and spontaneity, as well as work from poems/words or allow the poems/words to come later as a description of the work itself. "Once, I had tried to fill myself. I plastered caulk over my emptiness. I filled my body with cement. Rubber glue, love letters, Broken things. I tried to fill the emptiness with those which that only had holes in them...
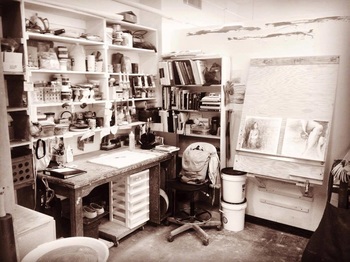
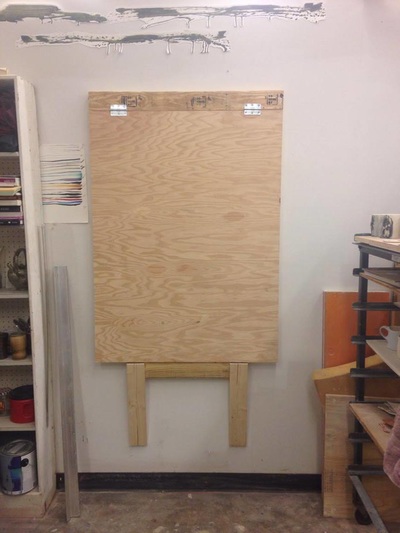
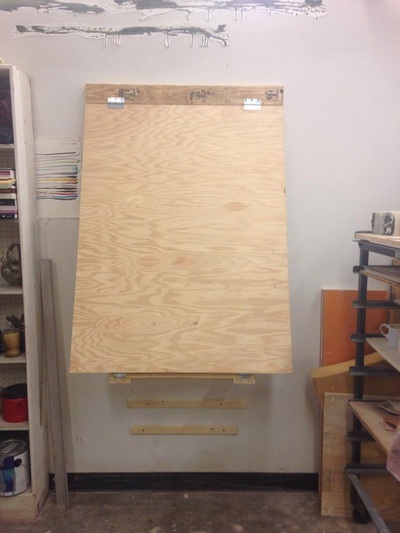
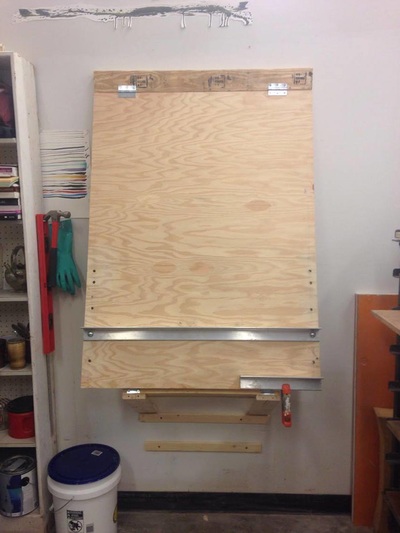
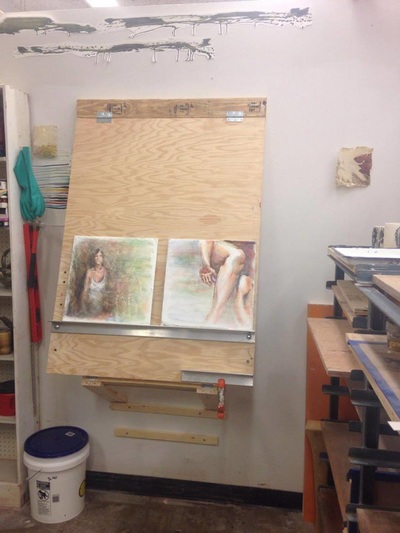
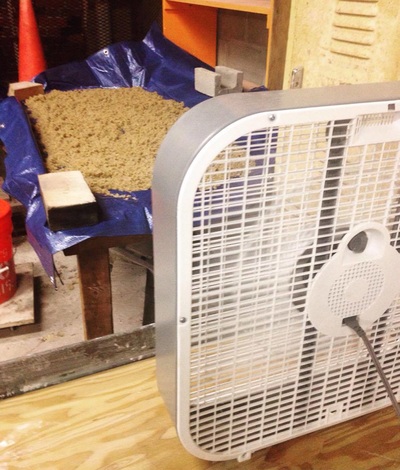
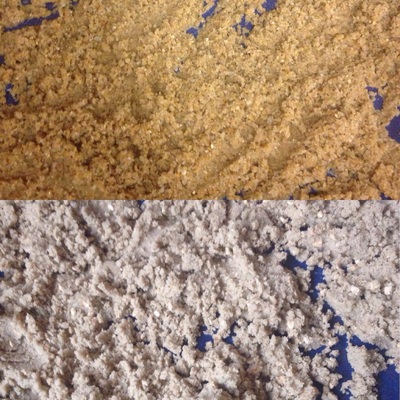
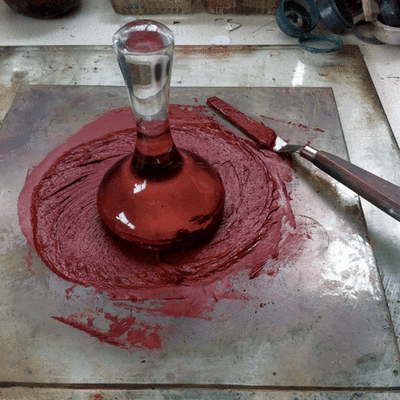
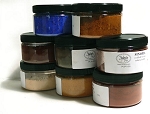
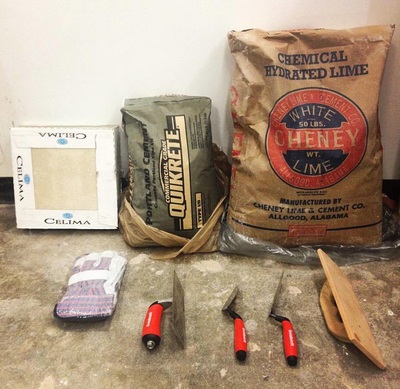
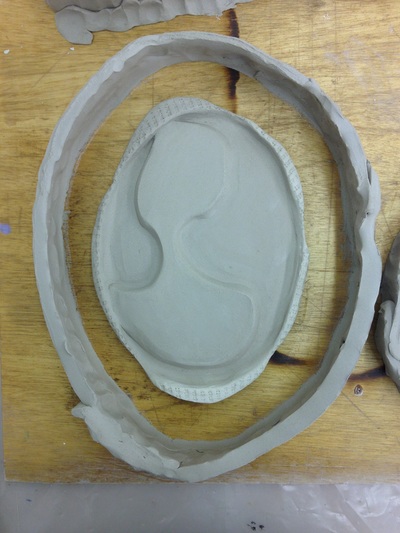
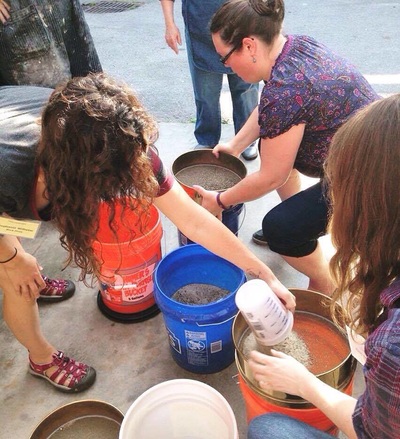
Does absence have flesh? I asked my body. Only the one you created, it said in return." ~ Shinji Moon, The Anatomy of Being In one week I leave for Anderson Ranch to take a two week workshop...because I will not be back until the day before school begins, I had a large list of things to complete before heading to CO. I have collected the majority of the materials I will need for my frescos and some of them are on their way to me! I may be able to have samples of the mineral dust shipped to me so I can at least test with it before committing to finding a large amount to purchase. I cleaned an organized my studio and completed installing my wall easel in my space and I am looking forward to using it. The wall easel will be so helpful to my work and make my studio space much more efficient. Fresco, like ceramics, is very labor intensive. I wanted to complete some of those tasks and material preparation ahead of time, so that upon my return from CO I could jump into making. I mixed lime putty and washed and dried my sand. Lime putty typically needs atlas 3 months to mature before use…unfortunately I doubt the beginning of the school year and the intensity will allow me to let it sit around. So, I wanted to begin mixing it as soon as possible! It can be used before 3 months but the consistency will be more whipped vs. compact and dense and potentially harder to use. I will have to test it out. I also needed to prepare the sand that I would be using while waiting for mineral dust. In place of mineral dust I can use sand…it will not be as white or have the sparkle that a mineral dust fresco has, but it’s something to begin with! I bought sand from Lowes as well as a construction store…though both of them are Quikrete All-Purpose, they actually have big differences. I am attempting to get in contact with Quikrete to speak to them about this. It could just be that they are coming from different locations…Mike did tell me that the sand will vary on your location and that from which they get their shipment from. The sands will be sifted when I mix materials for the plaster. Different layers require different mesh #’s. The final task on my list was to create some test tiles to use for testing the clay bodies and absorbencies for my fresco research. I will be testing multiple clay bodies (about 4 at this moment) at various temperatures. There are a combination of low fire red ware (which I am told may work best), a mid range porcelain, and two high fire stonewares. Some with large amounts of grog and others with almost no grog. The various textures will allow the fresco to hold better to the surface. I saved a few test tiles to bisque later after seeing the results from my first buon fresco tests. I have ordered a glass muller and my starter pigments for painting the buon fresco. The muller and glass will be used to mix my pigments. I purchased the pigment from Sinopia. I have also purchased the tools that I will need for the fresco.
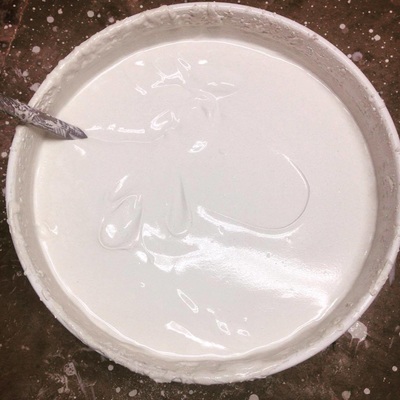
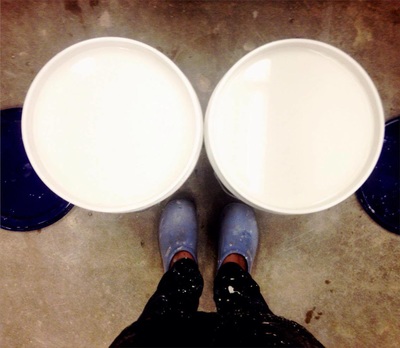
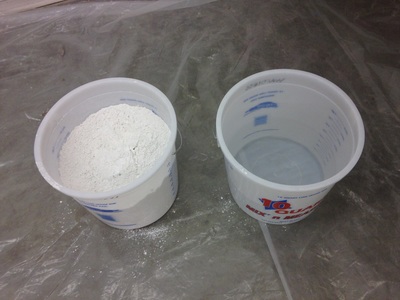
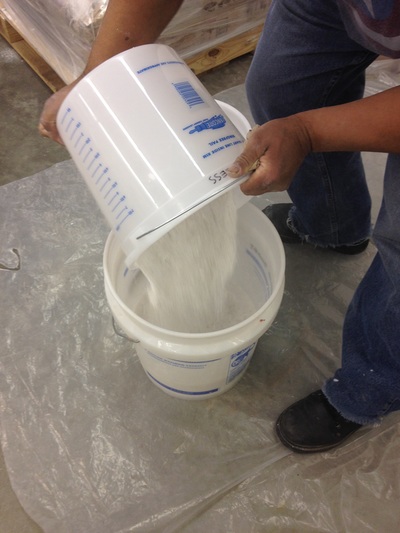
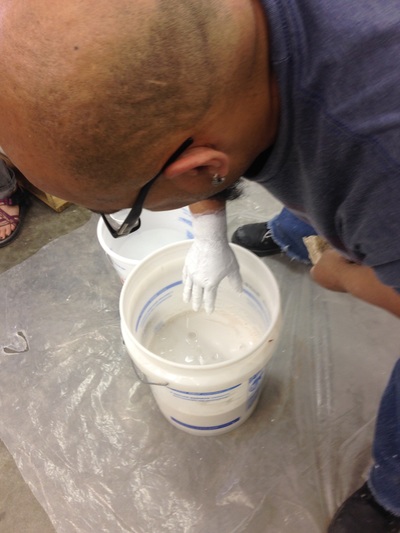
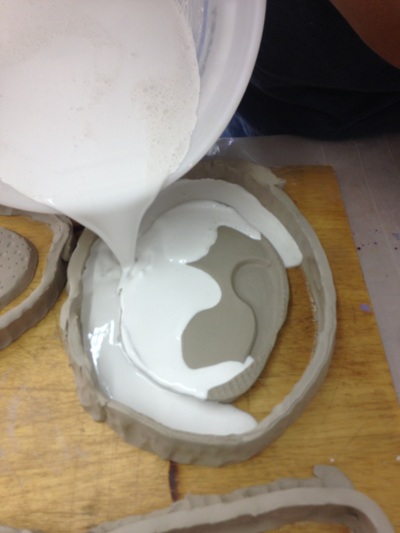
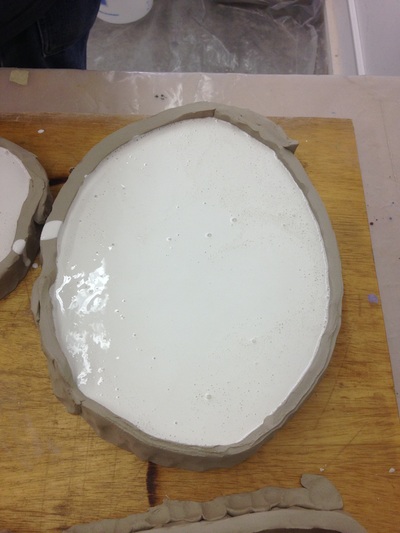
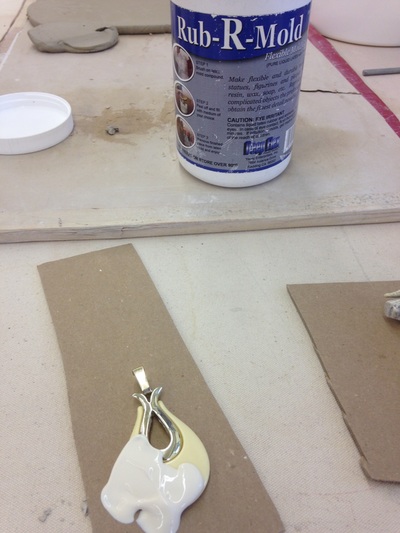
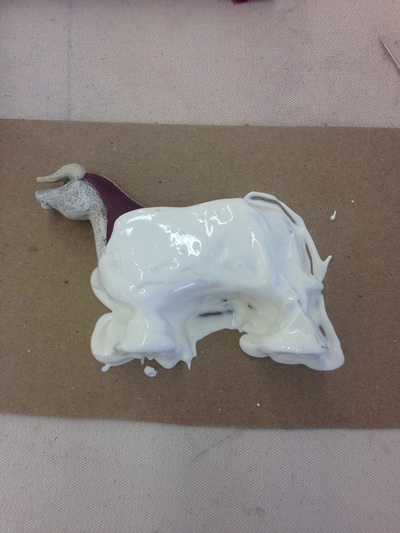
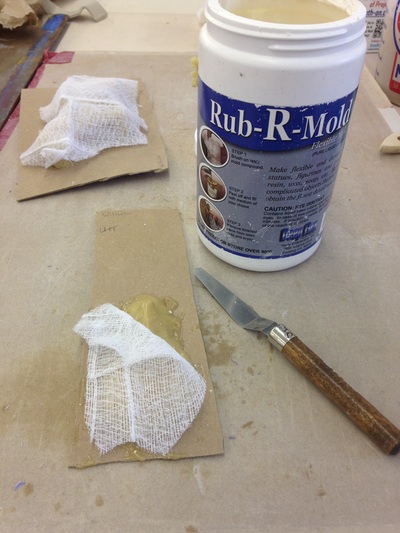
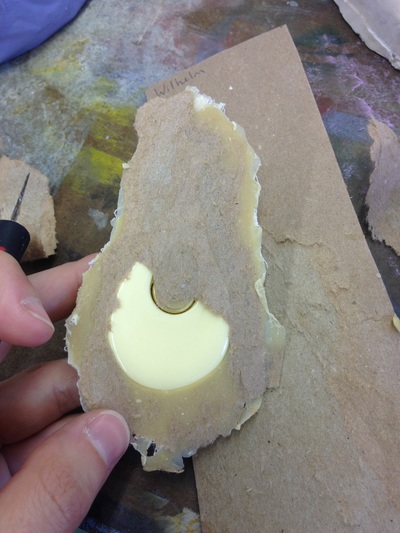
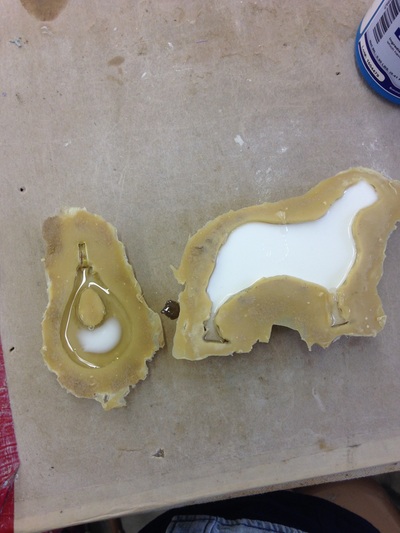
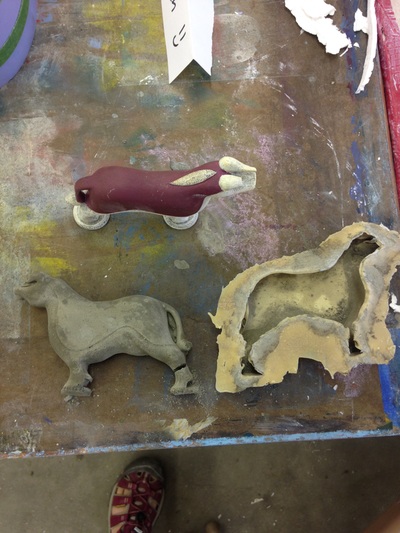
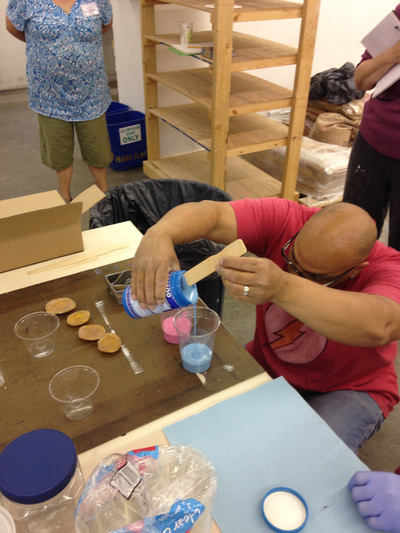
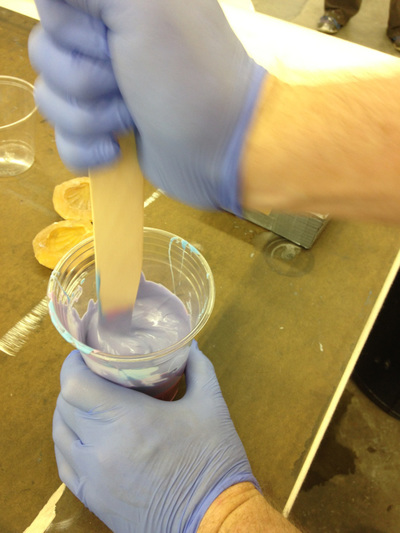
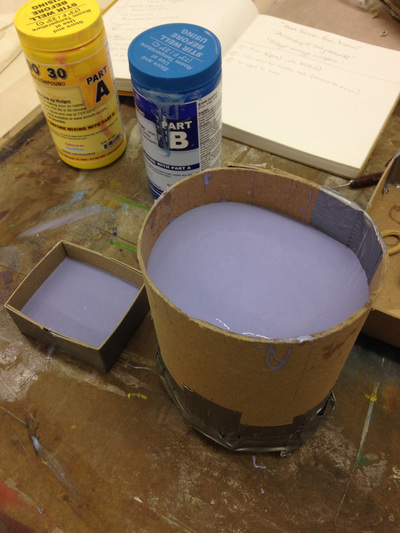
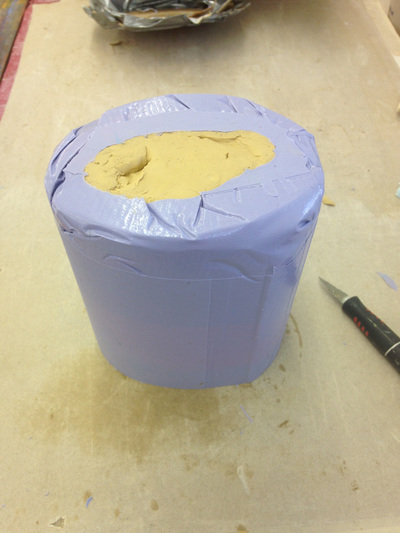
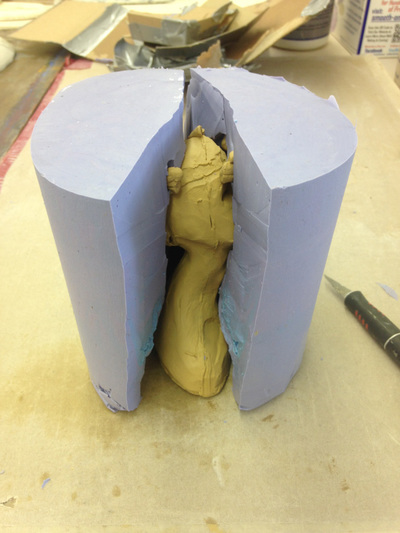
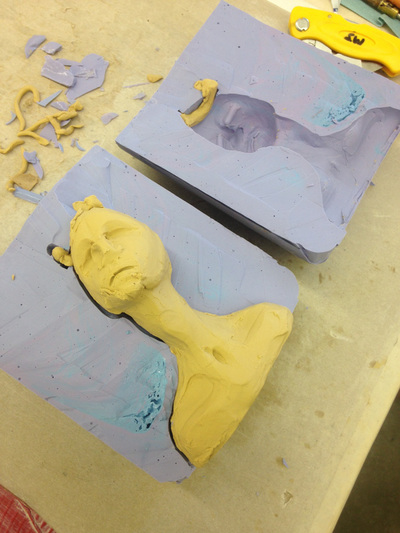
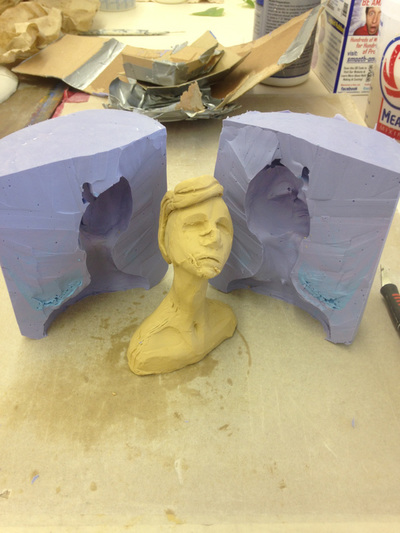
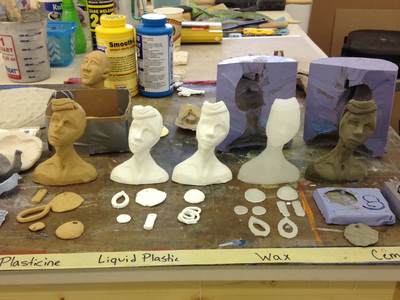
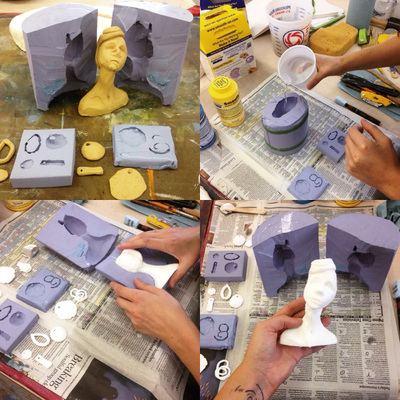
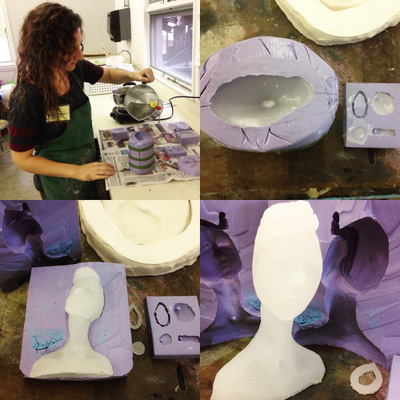
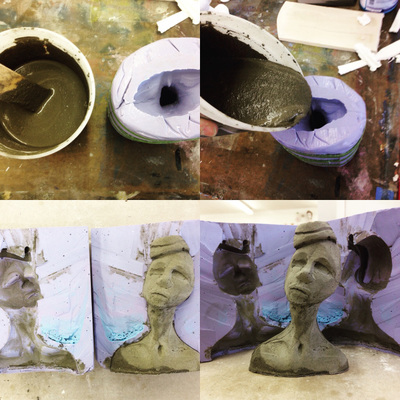
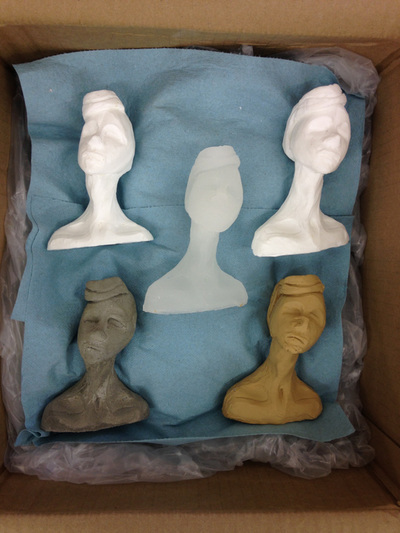
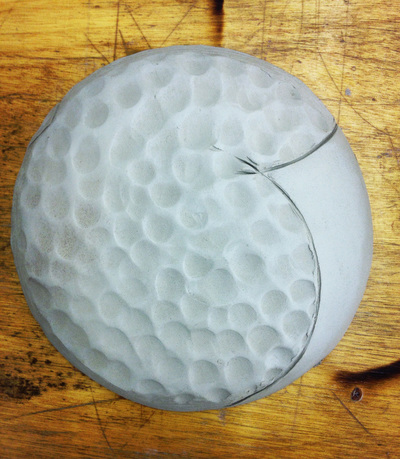
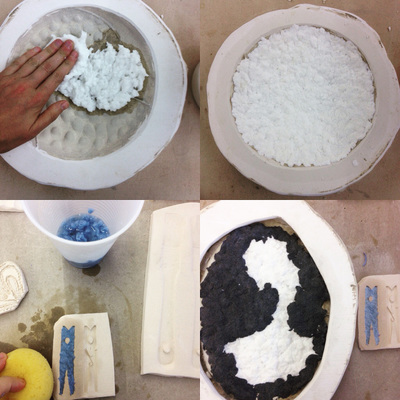
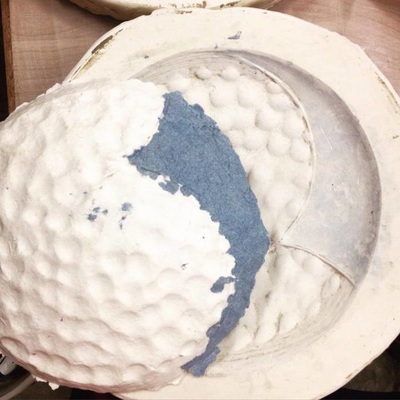
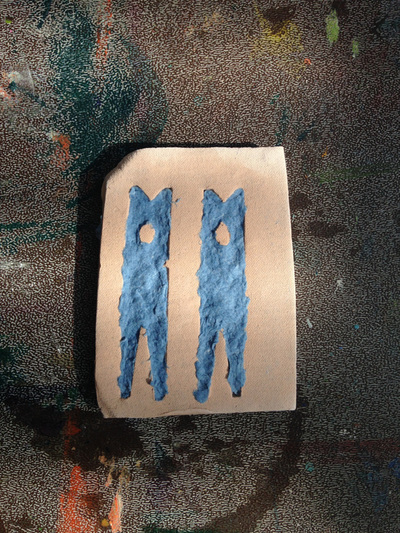
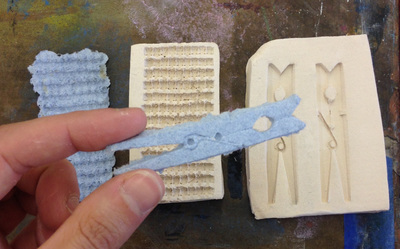
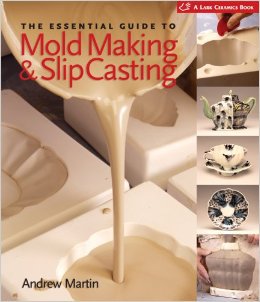
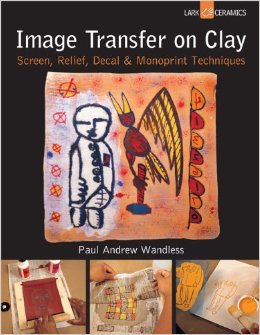
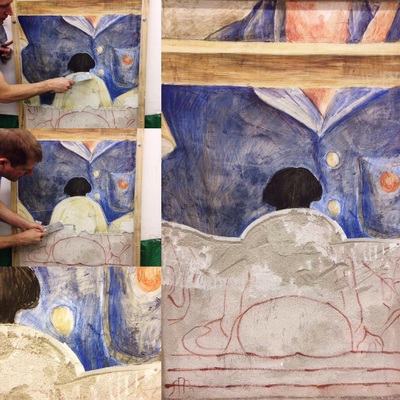
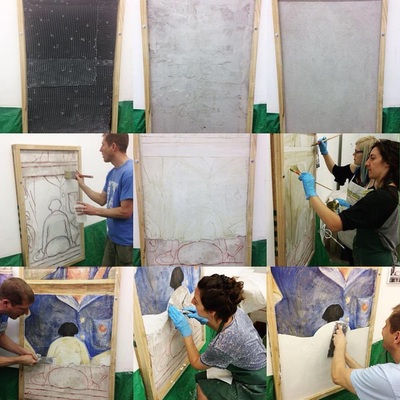
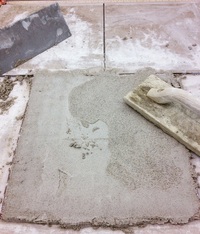
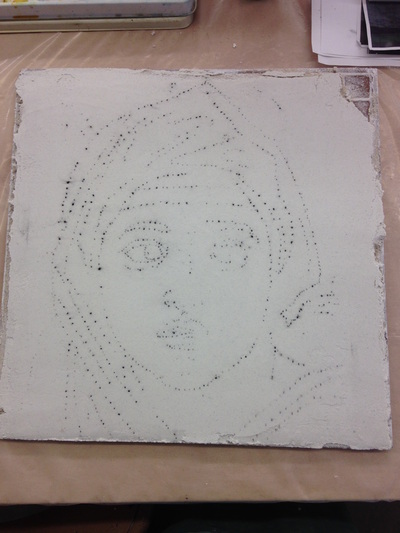
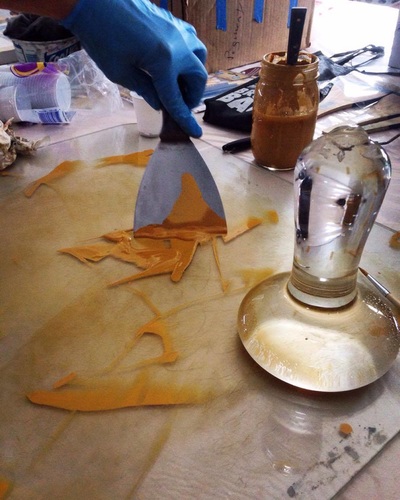
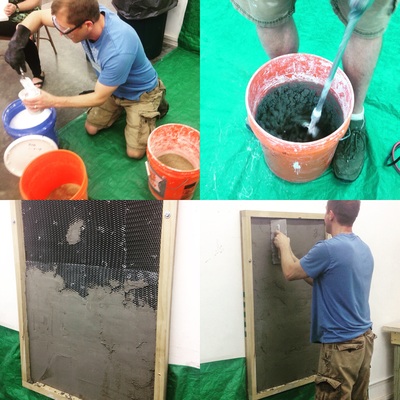
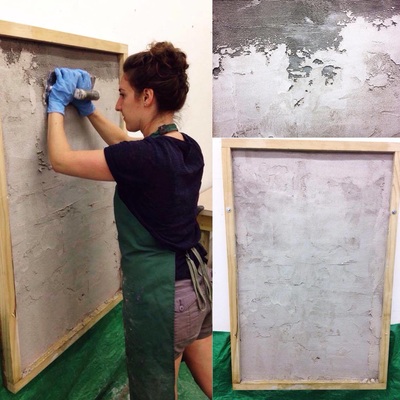
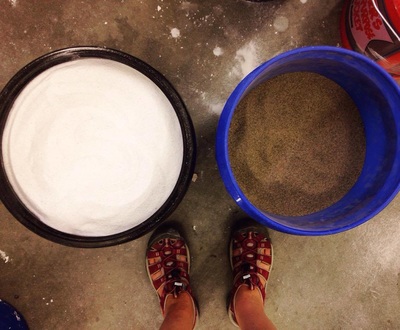
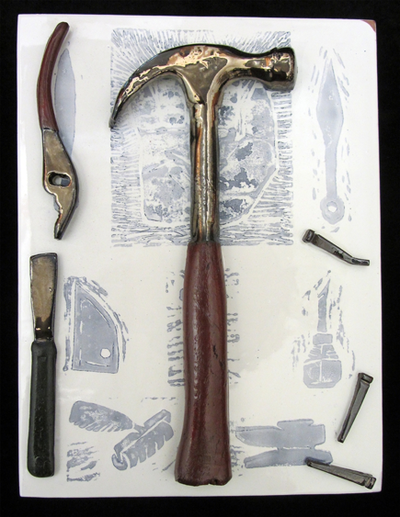
My main goal while attending workshops at Arromwont this summer was to learn things I had never experienced before and that were slightly outside my material, but that I could continue to incorporate into my work once returning to UF. The second workshop at Arrowmont was Mold Making with Paul Andrew Wandless where we practiced techniques of creating latex molds, silicone rubber molds, and casting wax, cement, plastic, and paper pulp press molds. I learned many valuable techniques that I can continue to use in making my own work. I had never really had the opportunity to learn much about mold making prior to this and Paul was a fantastic instructor and this course was actually the first time he combined all of these techniques into one workshop. He has taught many workshops, but typically when Paul teaches a mold making course, plaster and rubber are separate workshops. I admired his ability to fit in so many mold making practices in such a short period of time! There was also great collaboration between a lot of the workshops and instructors that week which allowed us the chance to incorporate paper pulp into our work. I will attempt to consolidate all that I learned into images throughout this post. You can click on the images to read the description…. Plaster Mold Paul taught me a different method of plaster molds. Usually one is taught the “island” technique of plaster mixing. His was the method of weighting the plaster and water. Rubber Latex Mold One of the first materials we worked with to create molds was rubber latex (Rub-R-Mold). This type of mold is great for one part molds, small objects, and ones with complex forms. The valuable characteristic about a rubber latex mold is its ability to be flexible. It can be turned inside out, twisted, popped, and causes no damage to the mold if made properly. This allows for complex forms casted to be removed with ease. Paul had us bring with us small objects that were fairly complex so that we could learn the techniques necessary for mold making. I brought a small pendant and a sculpture of a toro. You can use this with leather hard or bisque ware as well. Silicone Rubber Mold We used many different products to create molds and the Silicone Rubber #30 by Smooth-On was very effective. Our first task was to create a plasticine form to create our mold from. We used chip board again to create a barrier for our mold and once poured it took about 6 hrs to cure, but I let it sit overnight. Wax, Liquid Plastic, and Cement Casting We used our Silicone Rubber mold to create many types of castings. White Liquid Plastic #300 by Smooth-On was used. We also learned to cast Wax (Paraffin) and Cement (Quikrete.) A neat trick when casting the liquid plastic is to pour water in the mold first so you can determine how much material you may need to mix up. Always use gloves when mixing the plastic! If you plan to paint your plastic you can apply a thin layer of gesso to the surface to help many paints adhere to the surface. You will want a cement with no large particles and no aggregate! If you are creating outdoor sculpture you can add a fortifier to strengthen your cement. Paul stressed that you store your molds together so that the surface inside does not change and that the mold continues to fit together properly. Paper Pulp Press Molds We created press molds and plaster molds to cast paper pulp. I found the bisque press molds to be more effective than the plaster molds. They seemed to dry out the paper faster, where the plaster castings took much longer to dry. You can also use the latex mold but the moisture must be sponged out since it is not absorbant. Once the paper has dried completely it is surprisingly very durable! Paper pulp can be created by many materials. You can use paper towel and toilet paper as a cheaper material. We created molds from cotton, denim, and old t-shirts too but those were mixed with the proper machine and technique. The paper towel and toilet paper can be mixed with a basic blender and water. The paper will only adhere properly if you consider it like clay. The pulp must be of the same consistency and with similar amounts of water for them to bond strongly. Some References From Paul... Buon fresco is a very labor intensive art form…and in many ways is very similar to ceramics. That being said, it was the perfect workshop for me to take this summer, especially in preparation for the fall. While there is so much information and process involved, I will try my best to summarize what it is that I learned. If you would like more detailed information you can visit the website, created by my instructor Michael Nichols, buonfresco101. In the workshop we created two types of frescos. One on a large wall structure and the others on small ceramic tiles. There is a cement mixture that is referred as the “scratch coat,” which is only really needed for large structured frescos and is lime, sand, and cement. The main key for fresco is that the plaster has something textured and absorbent to hold on to. The second layer applied is called the “brown layer” which consists of sand and lime. The final layer on a fresco is the “painting coat.” This is lime and very fine sand or instead of lime you can use marble dust which gives a whiter and almost sparkling surface. The amount of water used in your fresco layers determines the amount of time you have before curing begins. When the surface cures a chemical reaction occurs creating crystals on the surface of your fresco which seals the pigment into the plaster! The images you see below are a compilation of the steps we took in creating the large wall fresco. Michael taught us this specifically to experience joining two sections of fresco. "Giornata" is a term, originating from an Italian word which means "a day's work." This describes the daily segments of the painting. For your small ceramic tiles the “brown layer” is not necessary but it is important to polish the surface carefully. I struggled with timing this properly and unfortunately there were certain areas of my fresco that did not take the pigment. The next step in creating your fresco is the image transfer which I spoke about a bit in my previous post. You can apply your image through “pouncing” with charcoal dust or you may use tracing paper and apply pressure with a rounded point. Both of these techniques will effectively leave a tracing of your image…it’s just a matter of which you prefer. Painting buon fresco is all about timing and knowing when the surface is ready for the next step. The layers must be absorbent and be able to immediately take the pigment into its surface. You will be able to know when you are ready to paint if the water in your brush is absorbed. You will paint your image with a subtle “verdaccio” or underpainting in order to have an idea of the values as you paint. Remember that you only have maybe a 5 hour window of time to paint before your fresco cures! When painting you must use pigments mixed with distilled water only. Regular water should be avoided when painting fresco and the milk from your lime can be used to create opaque layers. The beauty of fresco is the amount of layers painted through time to create colors and tones. We practiced a great deal painting indirectly…meaning creating an area of green by applying transparent layers of yellow and blue over one another. You must NEVER paint over the same area twice and too soon. The fresco needs time to absorb the color, and painting too quickly and too often can damage the crystals on the surface and the absorbency of your fresco. Once you have finished painting your fresco you must allow it to cure for atleast two days before attempting to wash it under water. If painted correctly and like a true buon fresco, the pigment will not move during the rinsing. It is not necessary to wash your fresco, but is an exciting experience! Some fresco artists will finish their piece with a wax layer (but only if you have not rinsed your fresco) which helps to create a smoother finished surface. This was a very simplified write up of the basic steps necessary to create a buon fresco...there are so many more details and processes involved. We created the majority of our own materials which also helped immensely with cost.
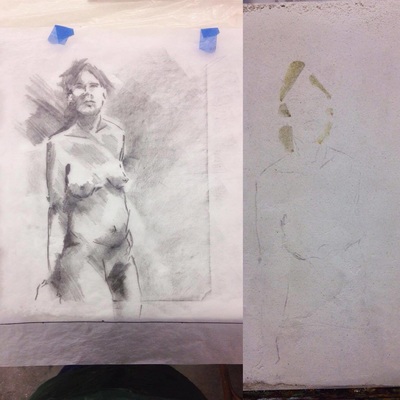
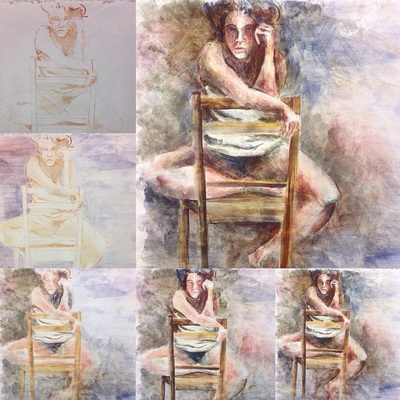
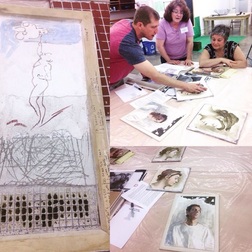
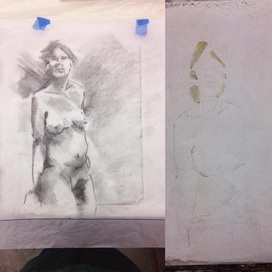
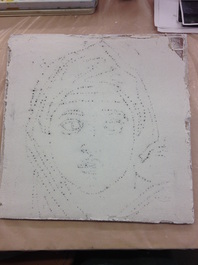
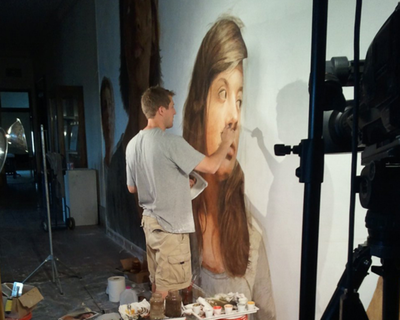
My buon fresco class has finally begun! I have already learned a great deal about this difficult and historical technique…Buon fresco takes patience, practice, and great skill. While I am still learning the basics of this historical art form, I wanted to share some of the resources available to those interested in it. I am taking the workshop with the talented Michael Nichols who spoke of the fresco community as a small one, though it seems he has done a fantastic job creating the beginnings of a fresco network through his blog Buon Fresco 101. Within this site you will find information about the artists working with buon fresco, resources, information about materials, as well as the history of Buon Fresco. In the workshop we will be learning the traditional technique of buon fresco used by Diego Rivera for the many historical and breathtaking frescos he created across the world. I was excited to hear this and see Nichols refer to many of his murals, some I have seen while living in Mexico! Nichols explained that the technique of Buon Fresco can be very traditional and rigid in a sense, though there are modern and contemporary artists out there doing new and interesting things with it. During the beginning of the workshop while Nichols explained the process of creating the plaster tile/structure for buon fresco I immediately began to construct ideas of how this could be applied to my own work…especially my ceramics. Can I create my own armature to then fresco onto, creating a 3 dimensional fresco? YES! Barbara Sullivan is an artist Nichols referred me to. Can I create pieces that are part ceramic (glazed) and part fresco? I think so!! I am learning that the most important part of applying the plaster is that the surface have tooth/texture. There is also an artist that Nichols explained has explored sealing the fresco he painted in a bowl and filling it with water! I have a lot of ideas and it will take time and experimentation to see what I can accomplish. For this first blog I would like to share the beginning stage of my sketches I have created for the course. Later I will write about the process we used to create our own plaster for fresco. Nichols will be teaching us the simple way of applying the plaster to the back of ceramic tiles, as well as the larger version and stronger support of creating our own frame and structure to then apply the plaster in multiple layers. The images below show my beginning drawings that must remain simple black and white for the moment. It is important that the different values are easy to identify. These images show the process of tracing these on to tracing paper to later be transferred onto the fresco surface. You can see the subtle indentation of the image on the painting layer and I had begun painting the "verdaccio" which is the underpainting usually done in a yellow greenish color. Diego Rivera used a black verdaccio for his frescos. Michelangelo used the technique we will try which is pushing pin holes into the drawing to then pound gently a charcoal powder…leaving the charcoal line on the fresco surface. This is called “spolvero” or “pouncing.”
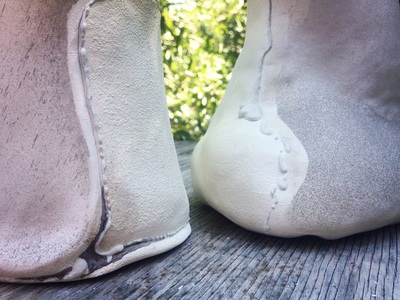
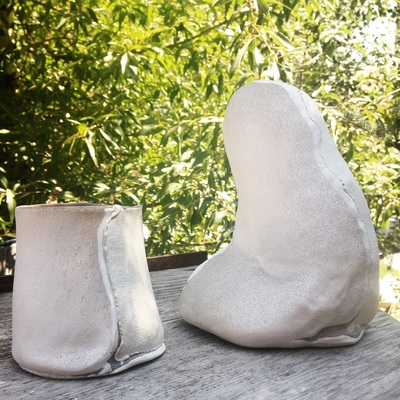
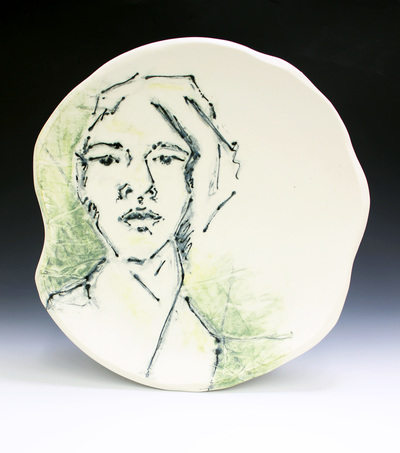
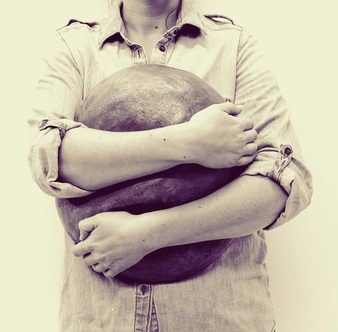
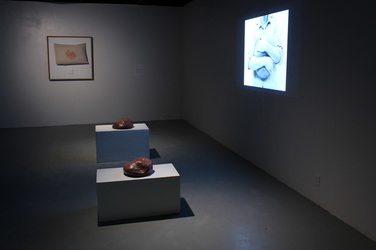
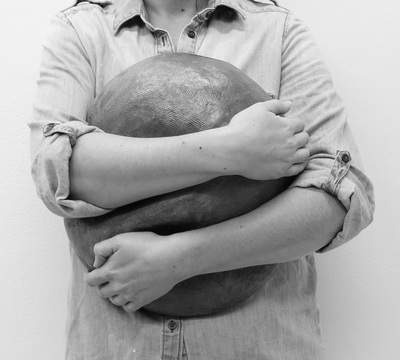
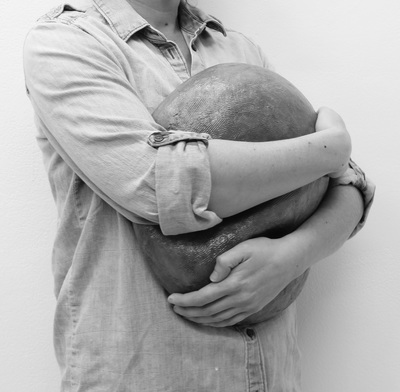
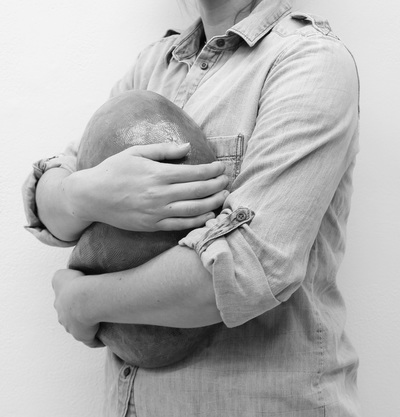
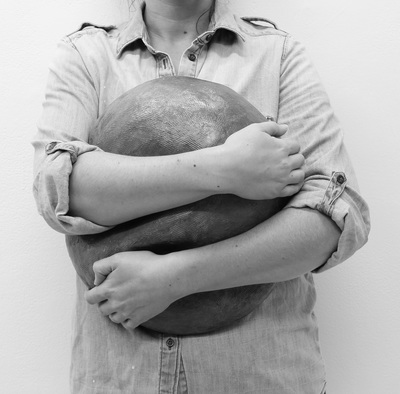
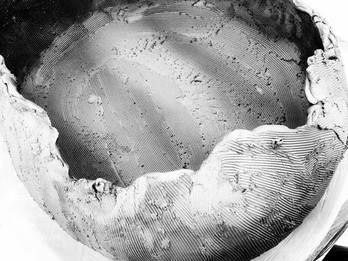
For the summer of 2016 I will have the opportunity to work diligently within my own studio as well as nationally. I will spend this summer at Arrowmont School of Arts and Crafts and Anderson Ranch. The workshops will consist of Buon Fresco: The Act of Painting onto Wet Plaster with Michael Nichols as well as the Introduction to Mold Making: Small One Part Molds and Sprigs with Paul Andrew Wandless. During my time at Anderson Ranch I will attend the workshop Hand Built Vessels: Clay as Canvaswith John Gill, Andrea Gill, and Stuart Asprey. All three of these workshops will expand my knowledge and visual vocabulary in my areas of interest and introduce me to new techniques within my practice as an artist. The goal is to approach my work in terms of “form as canvas” and develop its ability to communicate my ideas of the body and clay through the process of making and narrative. I will dedicate one month in between each workshop reflecting on the techniques and materials I had worked with and incorporating them within my own body of work. There will be extensive practice and problem solving to unify my ideas of image, surface, and form. How can I develop a form to be utilized as canvas, and how can I elaborate on that to build a language through my surface application and design? These will be the questions approached within my daily studio time. In the completion of my first year, I developed surface through the porcelain clay body, combinations of throwing and hand building, illustrative techniques such as mono-printing, and extensive testing of glazes and firing schedules. All of these will remain strong within my act of making and researching. I will continue to approach the idea of two and three dimensional space in the relationship and presentation of my work as well as expand my knowledge on mixed materials and their significance. I look forward to the opportunity to research, explore, collaborate with new artists, and expand my work in order to better communicate my ideas and represent myself as a clay artist. This summer spent traveling and working will benefit my graduate studies, studio work, and professional practices in new and applicable ways. To follow my summer work as well as the other graduates at UF please visit our blog!! UFCeramicsGrads This work is a desire to document the body. A desperate effort to create a memory within form, touch, and material. Clay as material is malleable and easily manipulated. With slow and precise steps, I coiled and pinched the red earthenware clay into a hollow, pillow like form. Immediately after building the voluminous body of clay, I hugged each pillow while still soft. The clay forms adhered to my body and reflect the shapes of my arms embracing and my hands gripping, as I gently applied pressure to hold close and shape each pillow. Objects that keep our marks. Our bodies that reflect memory. Our surfaces that depict use and time. Things Shouldn't Be So Hard
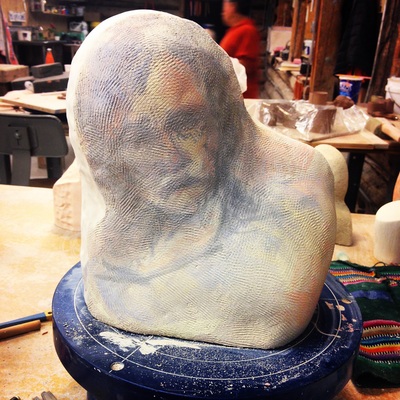
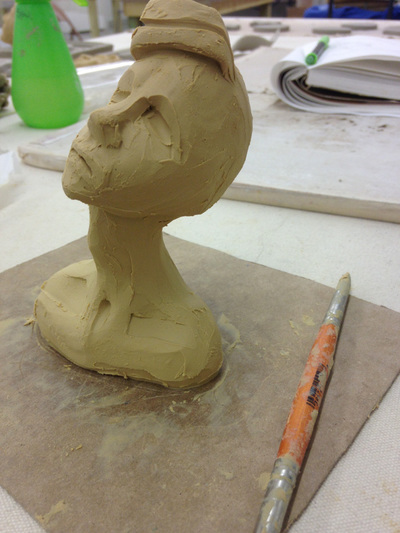
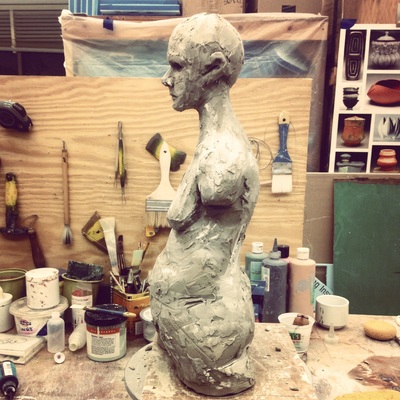
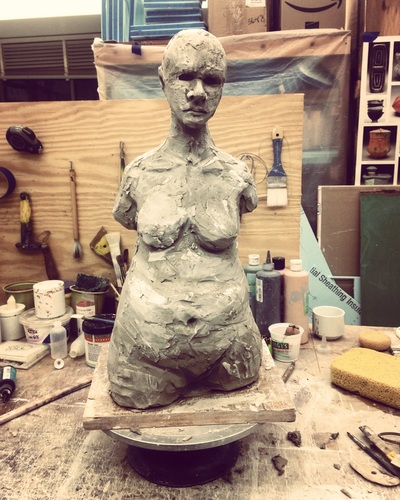
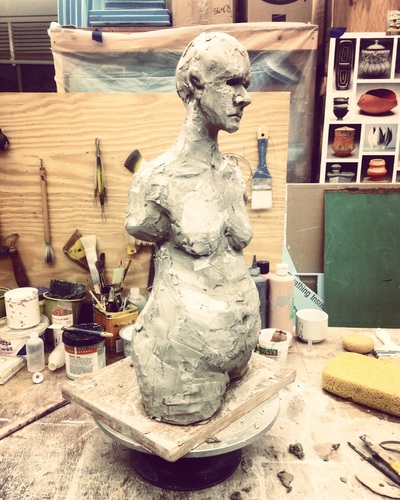
by Kay Ryan A life should leave deep tracks: ruts where she went out and back to get the mail or move the hose around the yard; where she used to stand before the sink, a worn-out place; beneath her hand the china knobs rubbed down to white pastilles; the switch she used to feel for in the dark almost erased. Her things should keep her marks. The passage of a life should show; it should abrade. And when life stops, a certain space-- however small-- should be left scarred by the grand and damaging parade. Things shouldn't be so hard. "Let’s begin here - at the skin. Pay attention to the story. A tale of lovers leaving port without words, with ships full of cargo, migrating from body to body, from flesh to flesh. This is a documentation of the human form: how we discover it, how we allow it to be discovered, how we love contours and knuckles and consume selfishly and sinfully - trying in vain to map out our primitive cartography without knowing what names to give the things that we love the most." ~ Shinji Moon The Anatomy of Being I've been exploring sculpture in my studio...thinking of form, memory, impression, and skin.
|
|
 RSS Feed